

Prompt length. Prompts have a maximum length. As a rough estimate, about 750 characters of English (around 120 words) fit. The exact limit depends on the wording, and other languages may allow fewer characters. If your prompt is too long, you get an error that tells you how many characters of it fit. This applies whether or not prompt enhancement is on.
Basics
Three inputs shape the result:- Input video: What Lucy can see and track.
- Reference image: The visual material for an edit. It may not show every angle the video needs.
- Prompt: The change you want. Describe the edit, not every visible detail — enhancement fills in the rest.
Choosing an input video
Lucy can only edit what it can clearly see and track. A good input video:- Keeps the subject fully visible and well lit.
- Holds steady framing, and avoids fast motion, motion blur, and heavy occlusion.
- Uses a clean, uncluttered background, especially for background edits.
Core prompting principles
A strong prompt answers four questions, in four sentences or fewer:- What should change? Describe the intended result: a new appearance, object, character, or scene.
- Where is the change applied? Anchor the edit to a visible location, such as a body part, garment detail, object surface, or background.
- How does it interact and move? Say how the edit attaches to the subject and holds up as the subject moves. Name the physical behavior — attaches to, wraps around, trails with motion, reflects on, casts light on, or is occluded by — so the result tracks the subject instead of looking pasted on.
- What stays the same? Name the details the edit should not affect, such as physical features, garment details, or objects.
Example:
Using reference images
A reference image supplies the visual material for an edit — a garment, object, character, or art style. The prompt tells Lucy which part to use and how to apply it. Use a reference image when you need consistent results across different videos. Good reference images:- Show the intended item or style clearly and completely, with the full subject visible and centered.
- Keep important details visible, such as shape, material, color, pattern, and fit.
- Avoid cluttered backgrounds, occlusion, and extra people or objects.
- Use a sharp, lightly compressed image, about 1280px on the longest side.
- Pad unusual aspect ratios to the output orientation — 16:9 landscape or 9:16 portrait — instead of cropping or upscaling.
- Name the item, character, or style to use.
- Call out the visual details that matter, such as color, material, texture, shape, pattern, logo placement, or fit.
- State where or how it should appear in the video.
- Ignore reference details that are not part of the edit, such as the reference subject’s pose, lighting, or background.
Prompt templates and examples
Each example starts on the unedited original clip, which shows the template for that edit type. Select a prompt beneath the video to see the edited result. Where a reference image was used, it appears next to the prompt.Character transformation
- Original person
- Space explorer
- Cartoon chef
- Día de Muertos
- Original person
- Space explorer
- Cartoon chef
- Día de Muertos
Template:
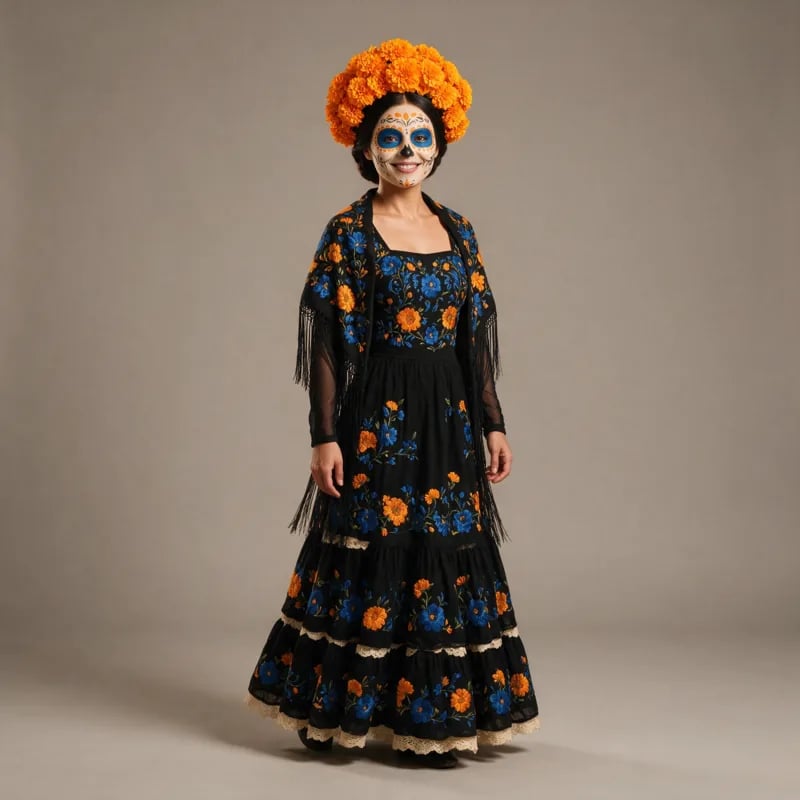
- Capture the character’s defining traits, not just how it looks — its materials, textures, and how they move, like rigid armor, flowing fabric, or glowing energy.
- Include distinctive details the reference may not show, such as wings, a tail, a shield, a backpack, or a cape.
- If the person’s face or identity changes: This is the expected behavior – use Virtual Try-on (VTON) for costume changes that preserve identity.
Add objects
- Original subject
- Macaw parrot
- Blue helmet
- Cape
- Original subject
- Macaw parrot
- Blue helmet
- Cape
Template:
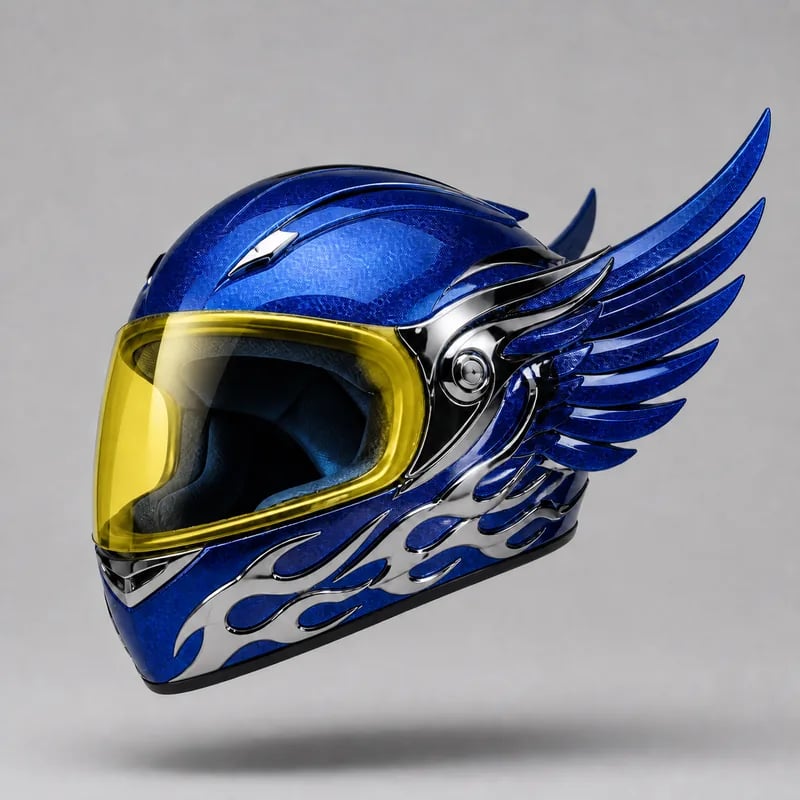
- Describe the new object in detail — its parts, colors, and material properties.
- When adding more than one, say how many and where each one goes.
Replace objects or features
- Original objects
- Heart glasses
- Tropical plants
- Fountain
- Original objects
- Heart glasses
- Tropical plants
- Fountain
Template:
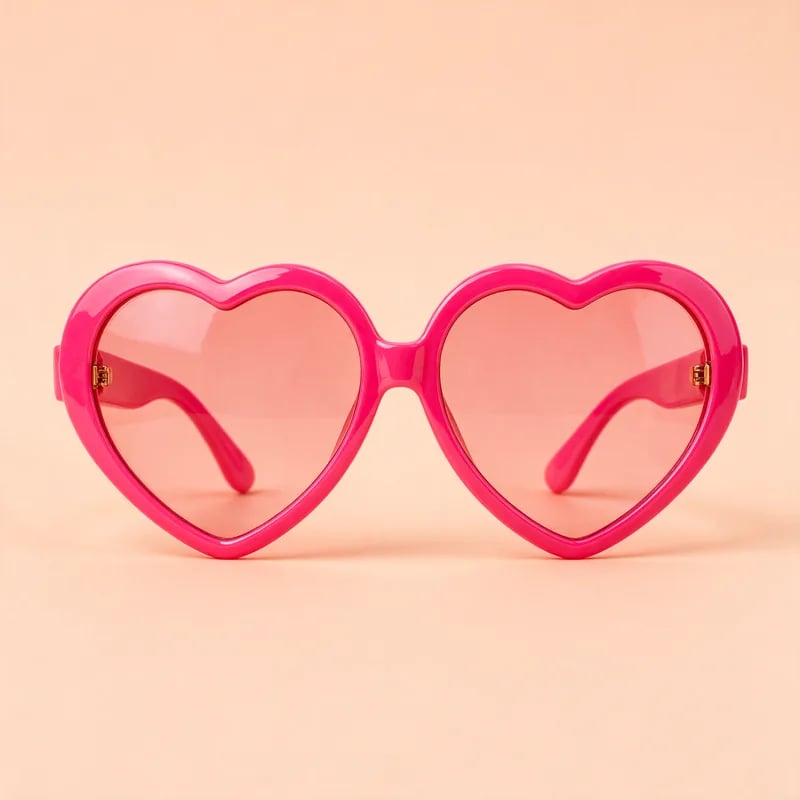
- To change many similar elements, name the category — like the plants in the background — instead of listing each one.
- Describe what you want to see, not how the edit should be done.
- If the original still shows through the replacement: Describe the new object in full, including the parts that should change.
Change attribute
- Original items
- Headphones color
- Sweater and bag
- Camo crossbody bag
- Original items
- Headphones color
- Sweater and bag
- Camo crossbody bag
Template:
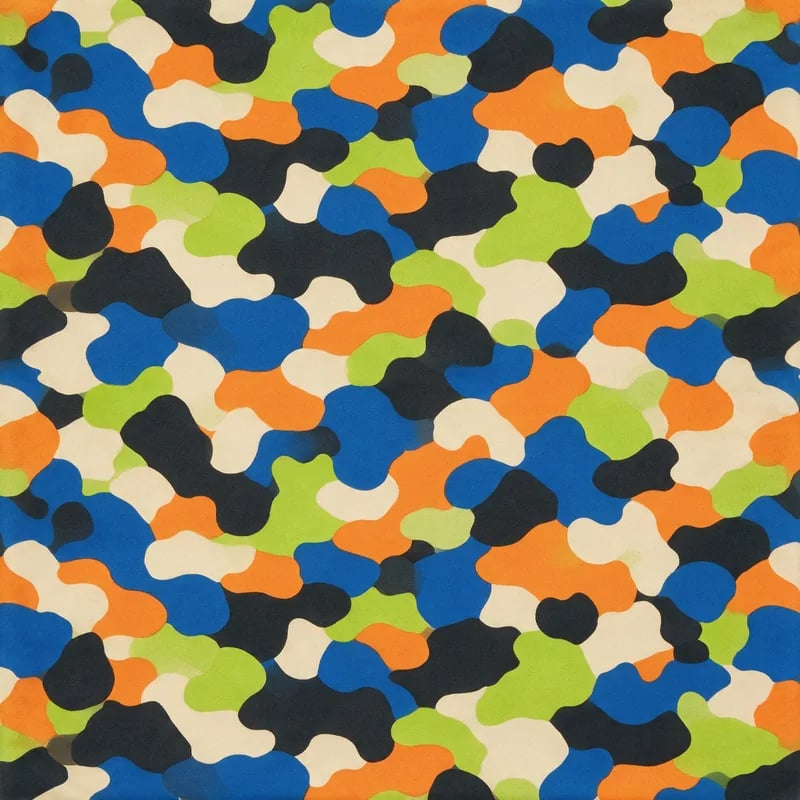
- Describe material properties — gloss, transparency, reflectivity, weave, finish, or graphic placement — not just the base color.
- Change one or a few related attributes at once, and keep each one specific.
- Try a reference image to apply a specific pattern or texture.
Remove objects
- Original scene
- Foreground elements
- Background elements
- Sun umbrella
- Original scene
- Foreground elements
- Background elements
- Sun umbrella
Template:
- Describe what should be visible after removal — the surface or background behind the object, including its texture and lighting.
- When removal changes what remains, such as the lighting or shadows on nearby objects, describe the new state.
- If a shadow or outline of the removed object remains: Name it in the prompt so it’s removed along with the object.
Change background
- Original background
- Festive street
- Fall hike
- Art deco concourse
- Original background
- Festive street
- Fall hike
- Art deco concourse
Template:


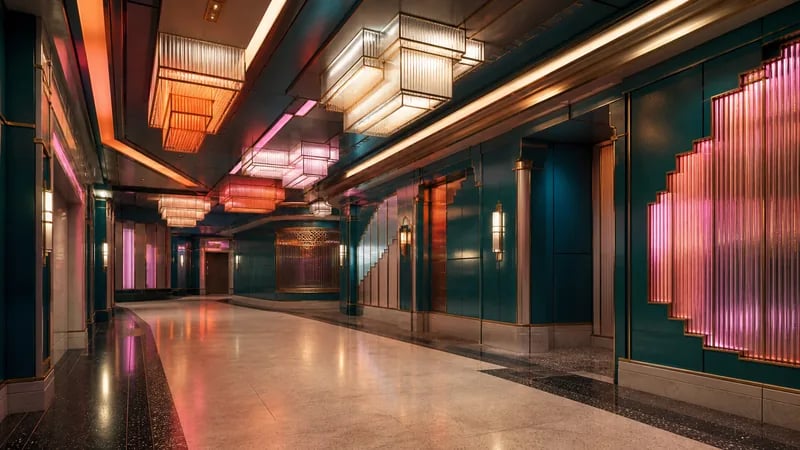
- Say how background elements should move — flags blowing, water flowing — so the scene isn’t static.
- To help the subject and new background read as one scene, try matching the light — direction, color, and time of day.
- Keep the prompt focused on the background change — extra instructions about the subject may steer the model toward changing the person instead.
- The background may be fit to the input’s framing and camera angle rather than copied 1:1 from the reference — treat the image as a guide to the look, not an exact layout.
Restyle the entire video
- Original style
- Watercolor
- Japanese woodblock print
- Crocheted world
- Original style
- Watercolor
- Japanese woodblock print
- Crocheted world
Template:
- Name a specific style — a 2D or 3D technique like oil painting or origami, or a material like clay or yarn applied across the whole scene.
- Describe one style through concrete traits, such as palette, texture, brushstroke, linework, or material.
- If the restyle flickers between styles: Use one well-defined style — avoid vague labels like ‘artistic’ or ‘stylized,’ and don’t mix several styles in one prompt.